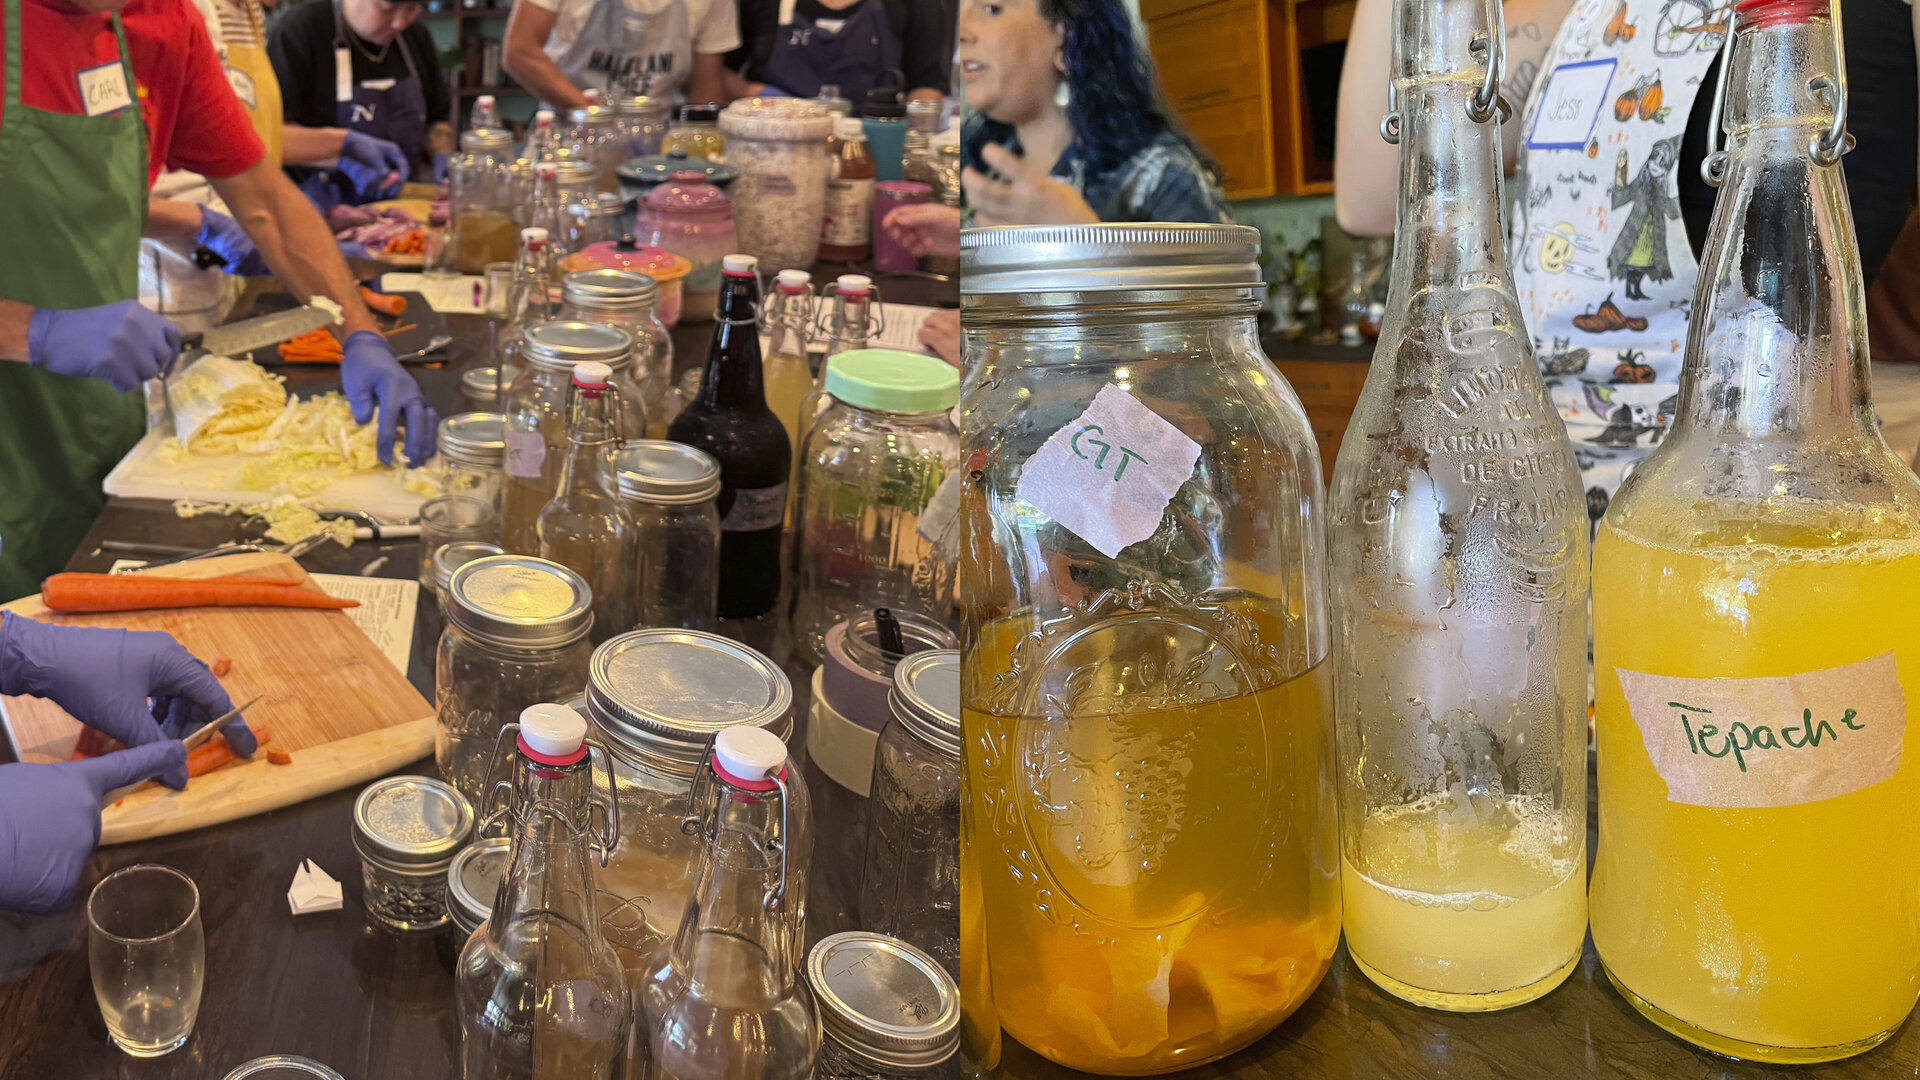
Slow Food Oʻahu class: A delicious education in fermentation
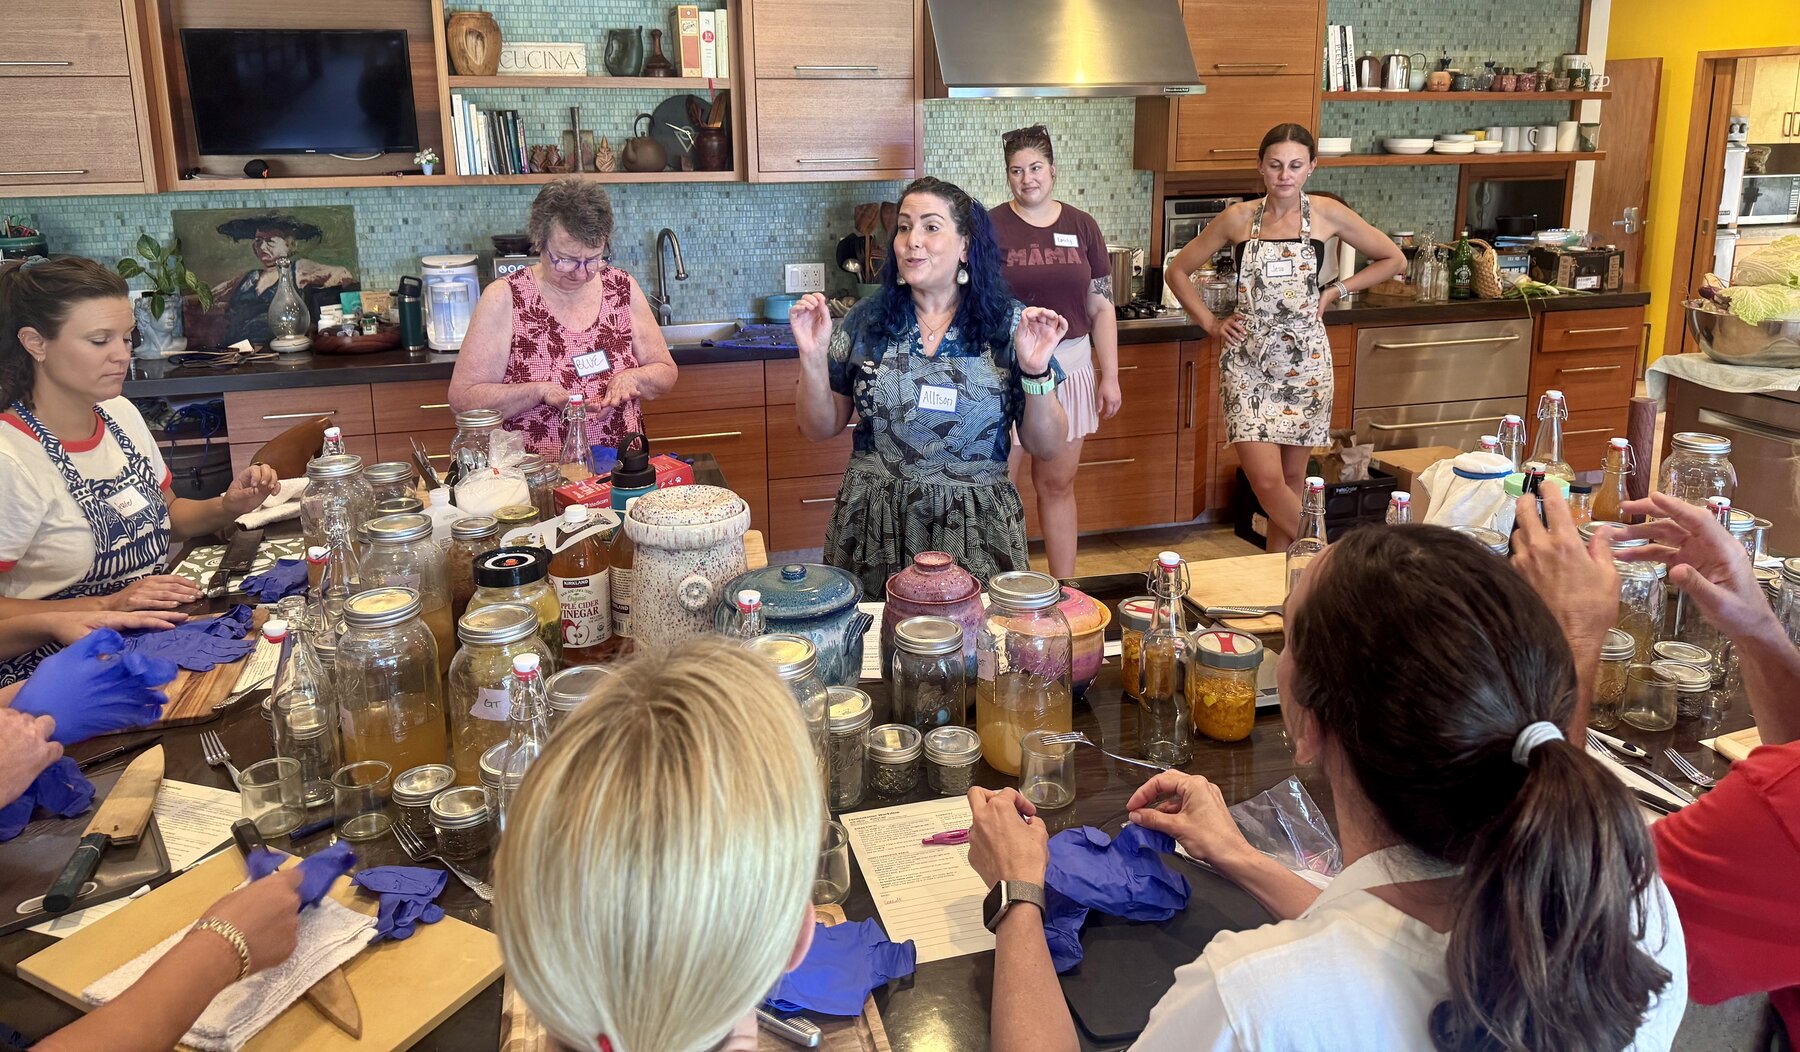
Slow Food Oʻahu returned to my kitchen earlier this summer with a fabulous fermentation class led by Allison Hardin, a long-time home fermenter and teacher. This fascinating class was not only a delicious experience, it was packed with So. Much. Information!
We learned the difference between pickling and fermenting, which comes down to one thing: Who makes the acid. With pickling, you add it — you pour vinegar over the vegetable, and the sourness comes out of a bottle. With fermenting, the food makes its own acid. Bacteria living on the vegetable eat the vegetable’s natural sugars and produce lactic acid, which is where the tang comes from. Nothing more than salt is added. In English, we confusingly call both preparations "pickles," but a vinegar pickle is a recipe and a fermented one is a living ecosystem. Both processes are driven by the need to deter the bad microbes and encourage the good ones to multiply and do their magic. How can you tell if you succeeded? Trust your senses. A successful ferment smells and tastes sour, bright, and pleasantly funky. A failed one announces itself as bad — you won't want to eat it, and you shouldn't. Fuzzy mold of any color goes straight in the bin, though a flat white film on the surface is usually a harmless yeast, kahm, that can simply be skimmed off.
So many common foods reach our tables through fermentation: sourdough, cheese, beer, yogurt, coffee, chocolate, soy sauce, miso, sake, kombucha, kimchi, and poi, to name a few.
Why do we ferment? It's a practical way to say “yes” to any abundance of produce, and create year-round food security without the need for refrigeration, which matters on an island where most of our food arrives by boat. Perhaps more importantly, exciting research is shedding light on the importance of paying attention to our gut microbiome, with emphasis on the value of adding fermented foods to the diet to maintain a good supply of healthy bacteria. In Hawaiʻi, because many different cultures emigrated here, each bringing their ancestral fermentation recipes, we have an especially rich abundance of local fermented delicacies.
Kombucha Brewing
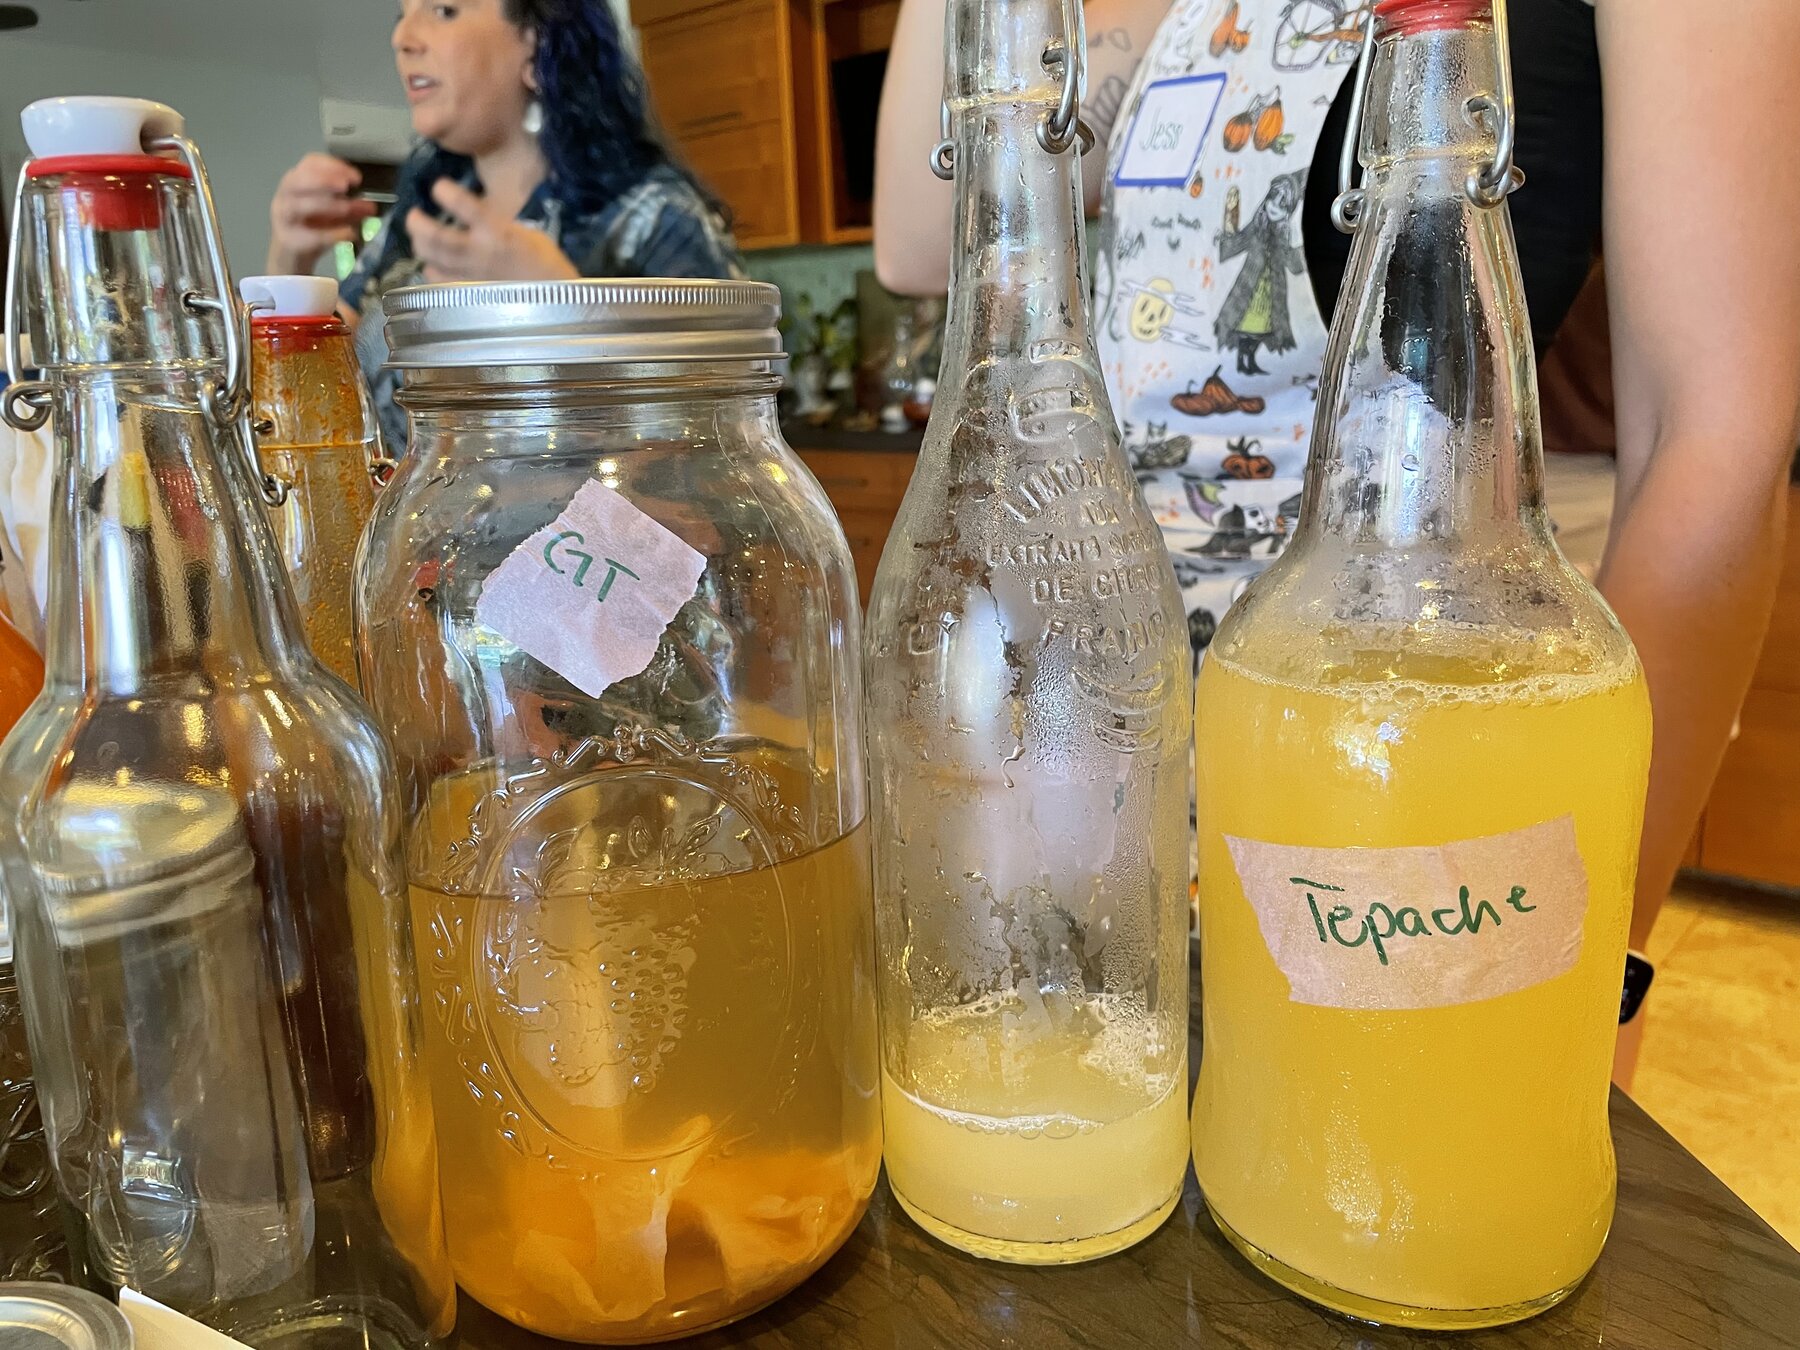
In Allison’s class, we brewed a large pot of green tea and added organic pure cane sugar, which kicked off our home-brewed kombucha lesson. We were each gifted a jar of kombucha that Allison had been fermenting on her kitchen counter for a week or so, along with a SCOBY — a symbiotic culture of bacteria and yeast — and the starter liquid it lives in. Allison was emphatic that the liquid is the real culture; the rubbery disc of SCOBY is a cellulose raft the bacteria build, and it is the starter liquid that does the work.
We bottled our kombucha and added our choice of fruit juices for flavor, plus a little additional sugar. This second ferment sits at room temperature for two to four days to build carbonation, and then goes into the refrigerator to lock in the fizz. The green tea we brewed in class was cooled to room temperature before being added to the kombucha starter to continue the cycle. Cooling is a critical step, since hot tea will kill the culture outright.
Making Kimchi
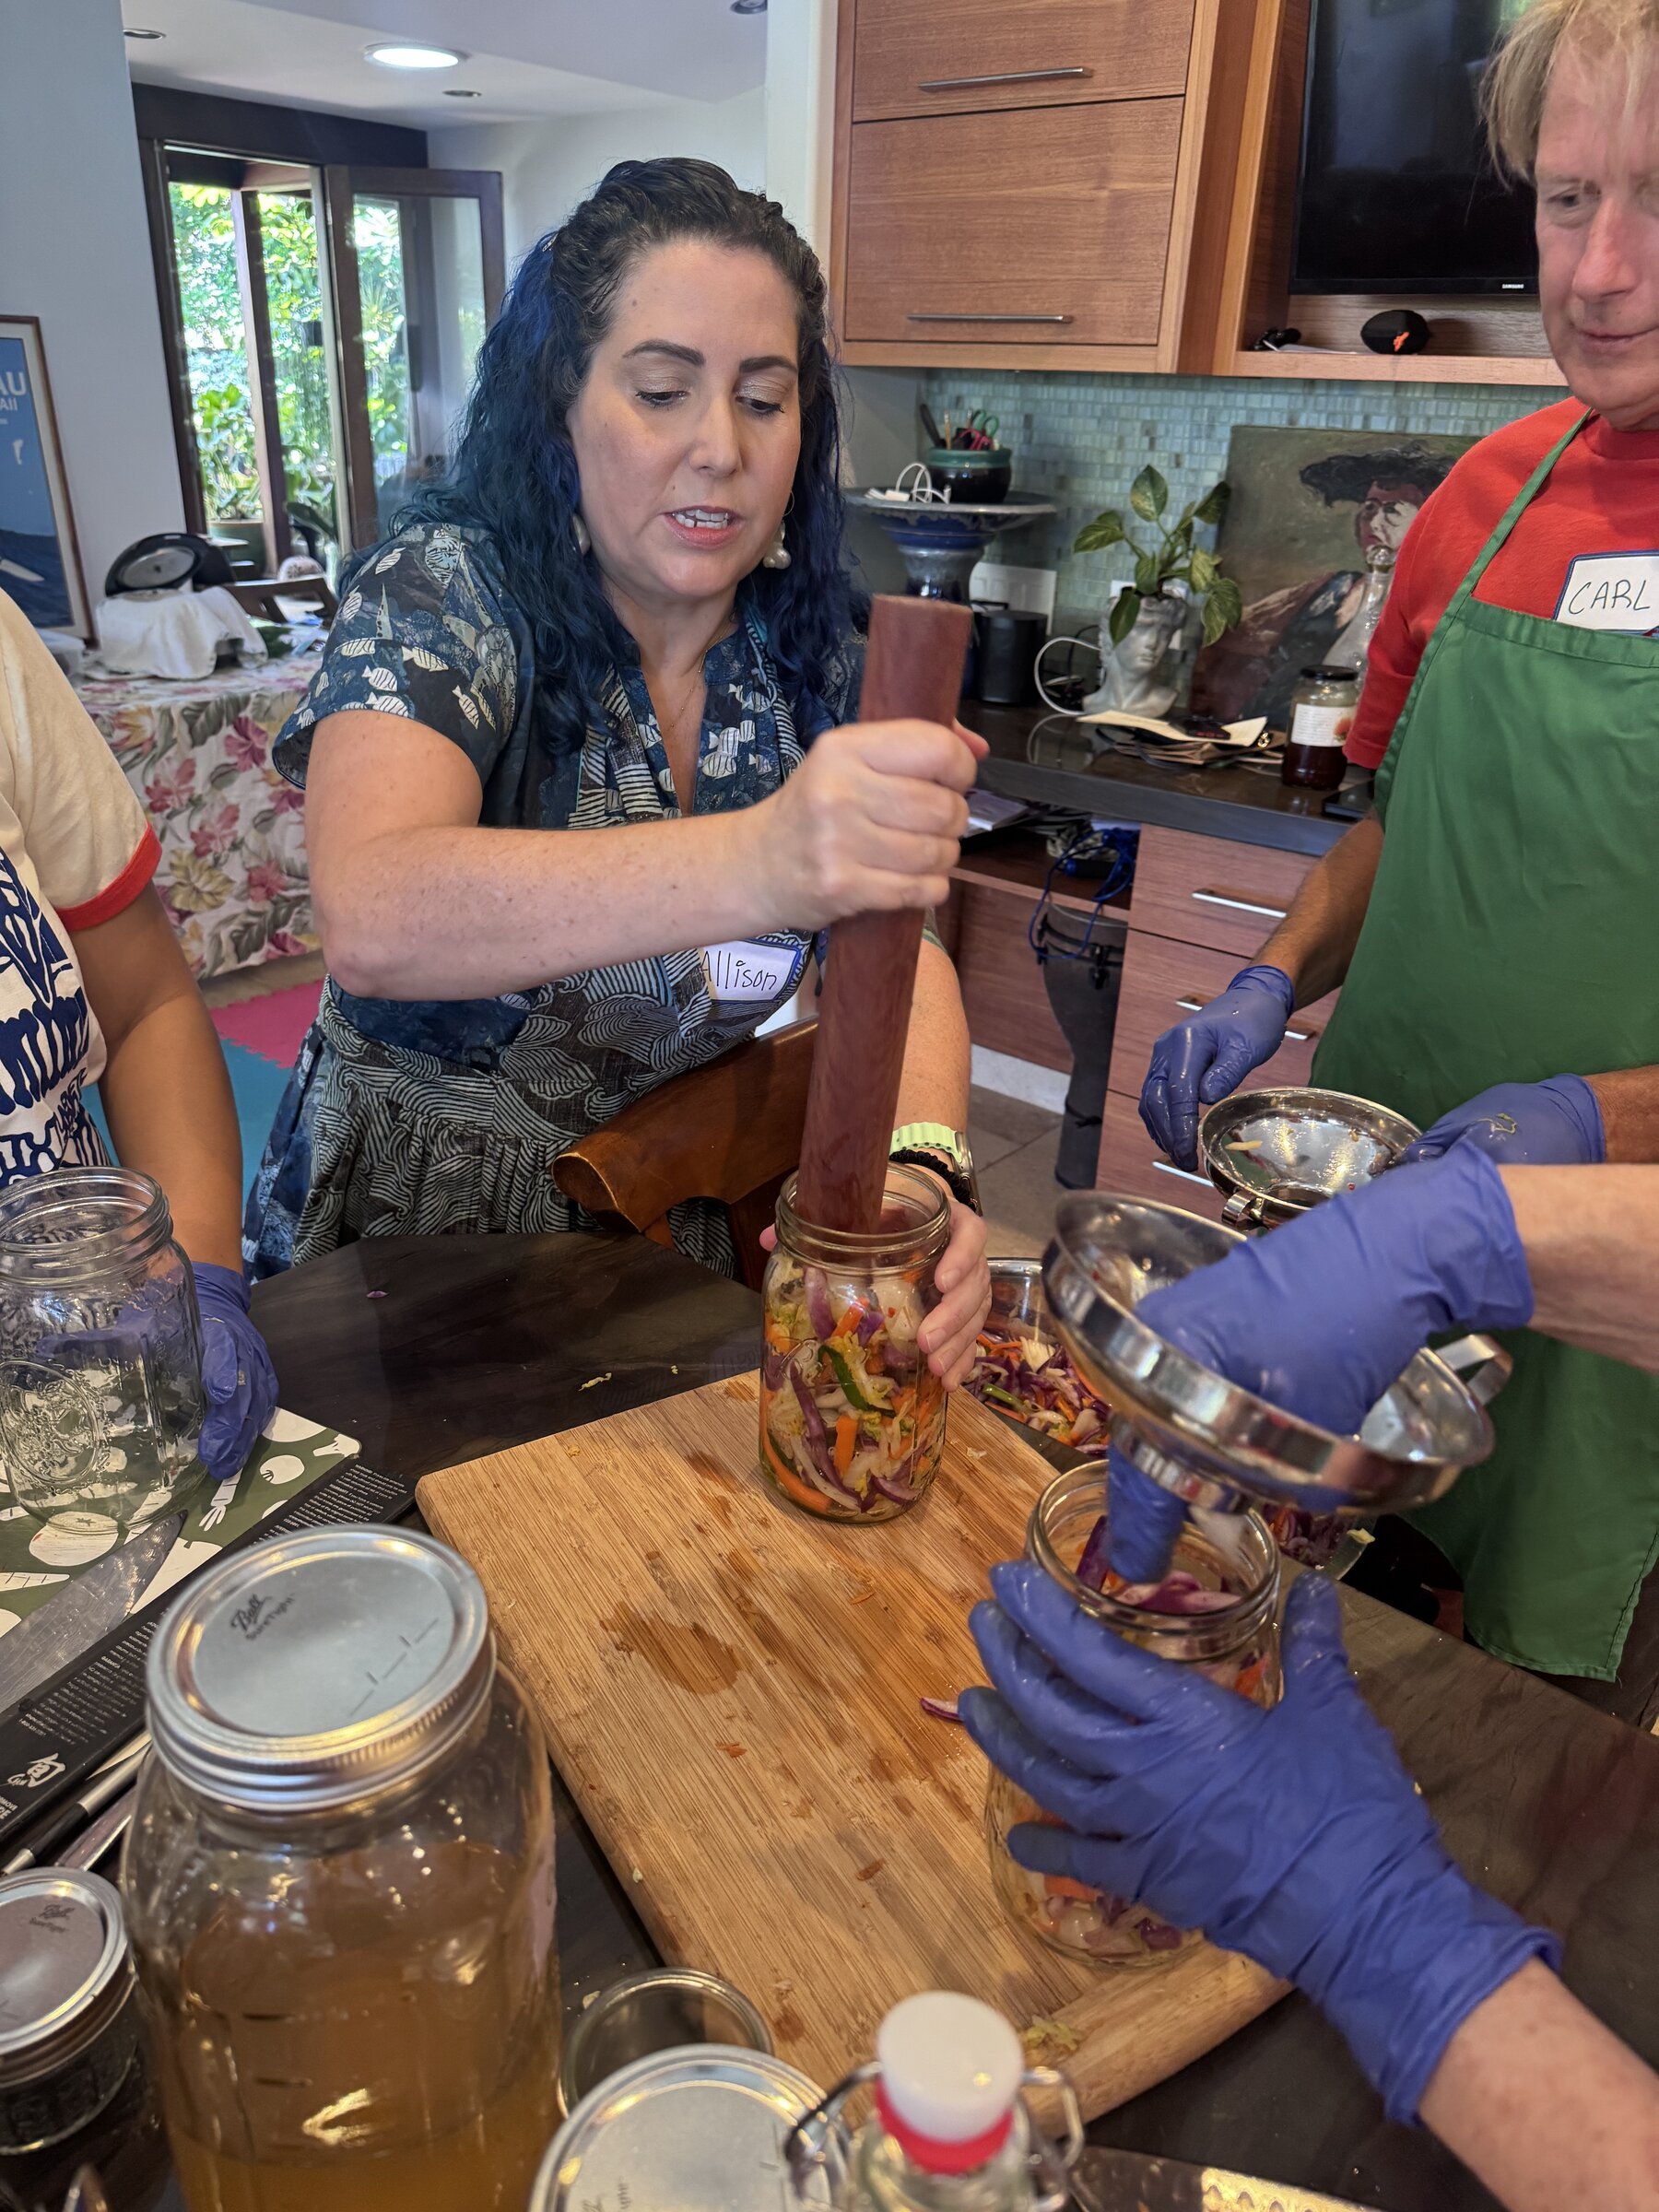
We then rinsed the dirt off carrots, daikon, and won bok (Napa cabbage), sliced up the vegetables, and then gently massaged salt into the medley in small batches to draw out the water, which became the brine for our home-made kimchi. Surprisingly little salt was necessary to work this magic trick — only about 2% by weight. We used approximately 8.5 ounces of salt to produce 12 medium-sized mason jars of kimchi with plenty of brine to cover the vegetables. As Allison put it, “Keep it below the brine, it'll all be fine.” And we had plenty of brine left over to ensure all the vegetables stayed well covered.
Honey-Fermented Garlic and Ginger Bugs
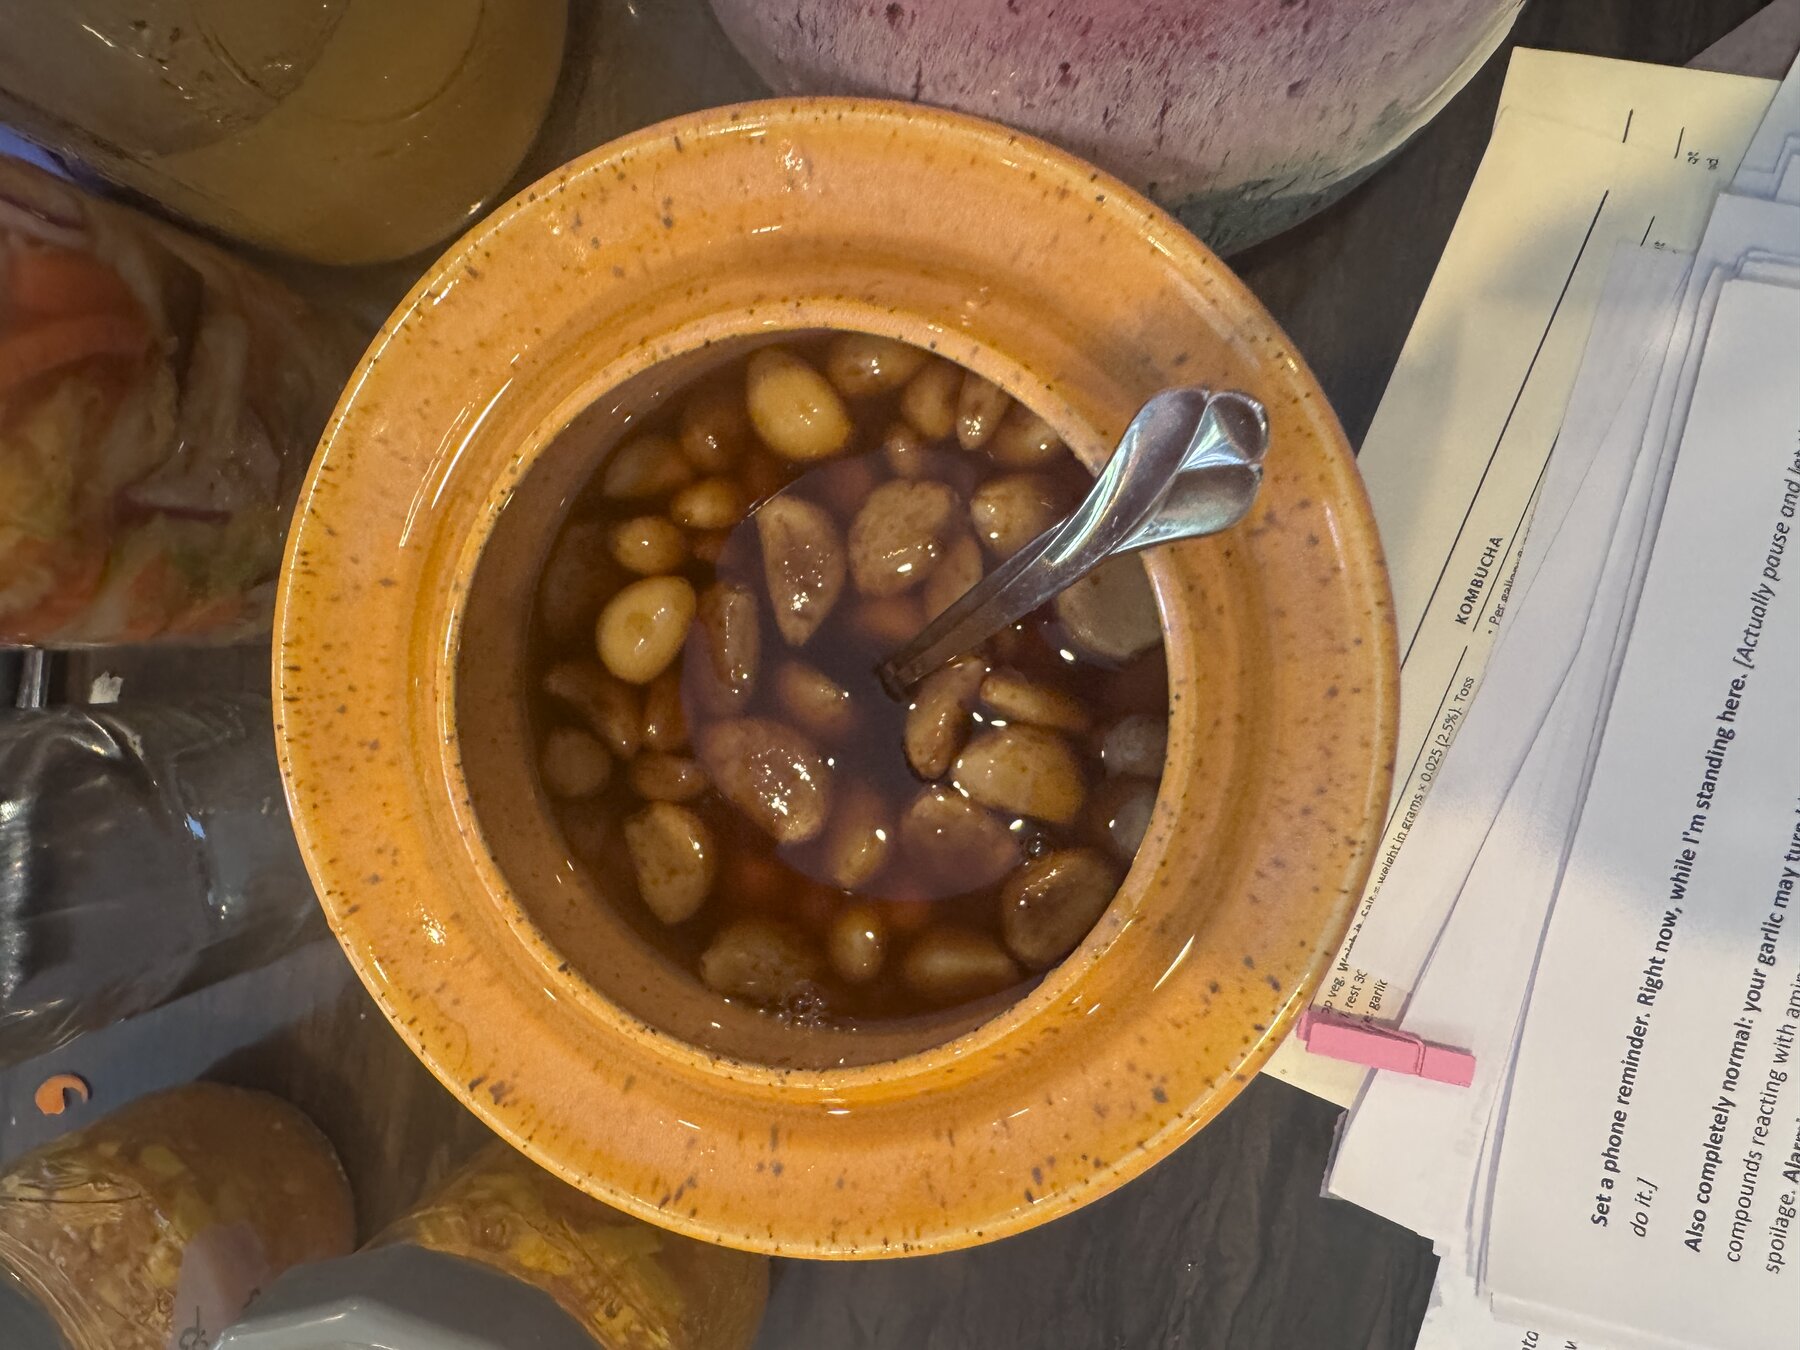
We then moved on to honey fermented garlic: peeled cloves submerged in raw Big Island honey. Honey on its own is too dry to ferment; it holds very little free water, which is why it keeps almost indefinitely. But garlic is roughly 60% water, and as the honey draws that moisture out, it thins and comes alive with the wild bacteria already living on the cloves. Within days, we were informed, the jars will bubble. Then they need to be burped daily — twice a day at the start — with every clove kept submerged. After a few weeks, Allison said, the garlic cloves become one of the most gorgeous flavor bombs going, equally at home in sweet and savory dishes, and the infused honey may be even better than the garlic. She offered the option of adding apple cider vinegar to make an oxymel, a honey-and-vinegar preparation that goes back to the ancient Greeks. It is delicious stirred into hot water or whisked into a salad dressing. A splash of vinegar is also sensible insurance in any garlic honey, since garlic is a low-acid vegetable.
Separately, we each made a “bug”: a living starter for homemade soda. We could choose rhizomes of ginger or turmeric, or a combination of the two, which we then grated and stirred into sugar and water. Wild yeast and bacteria live on the skin of the rhizomes, so the ginger or turmeric is grated unpeeled. If you peel it, you have essentially thrown away the culture and kept the packaging. By feeding your “bug” a spoonful of grated root and a spoonful of sugar each day, it becomes actively bubbly within three to seven days. From there, four ounces strained into a quart of sweetened juice or tea, and bottled, gives you soda in a matter of days. Keep feeding it and it will live on your counter indefinitely. Allison also adds a splash to her kombucha second ferment for a more reliable fizz.
Water-Seal Crocks and Inspiration
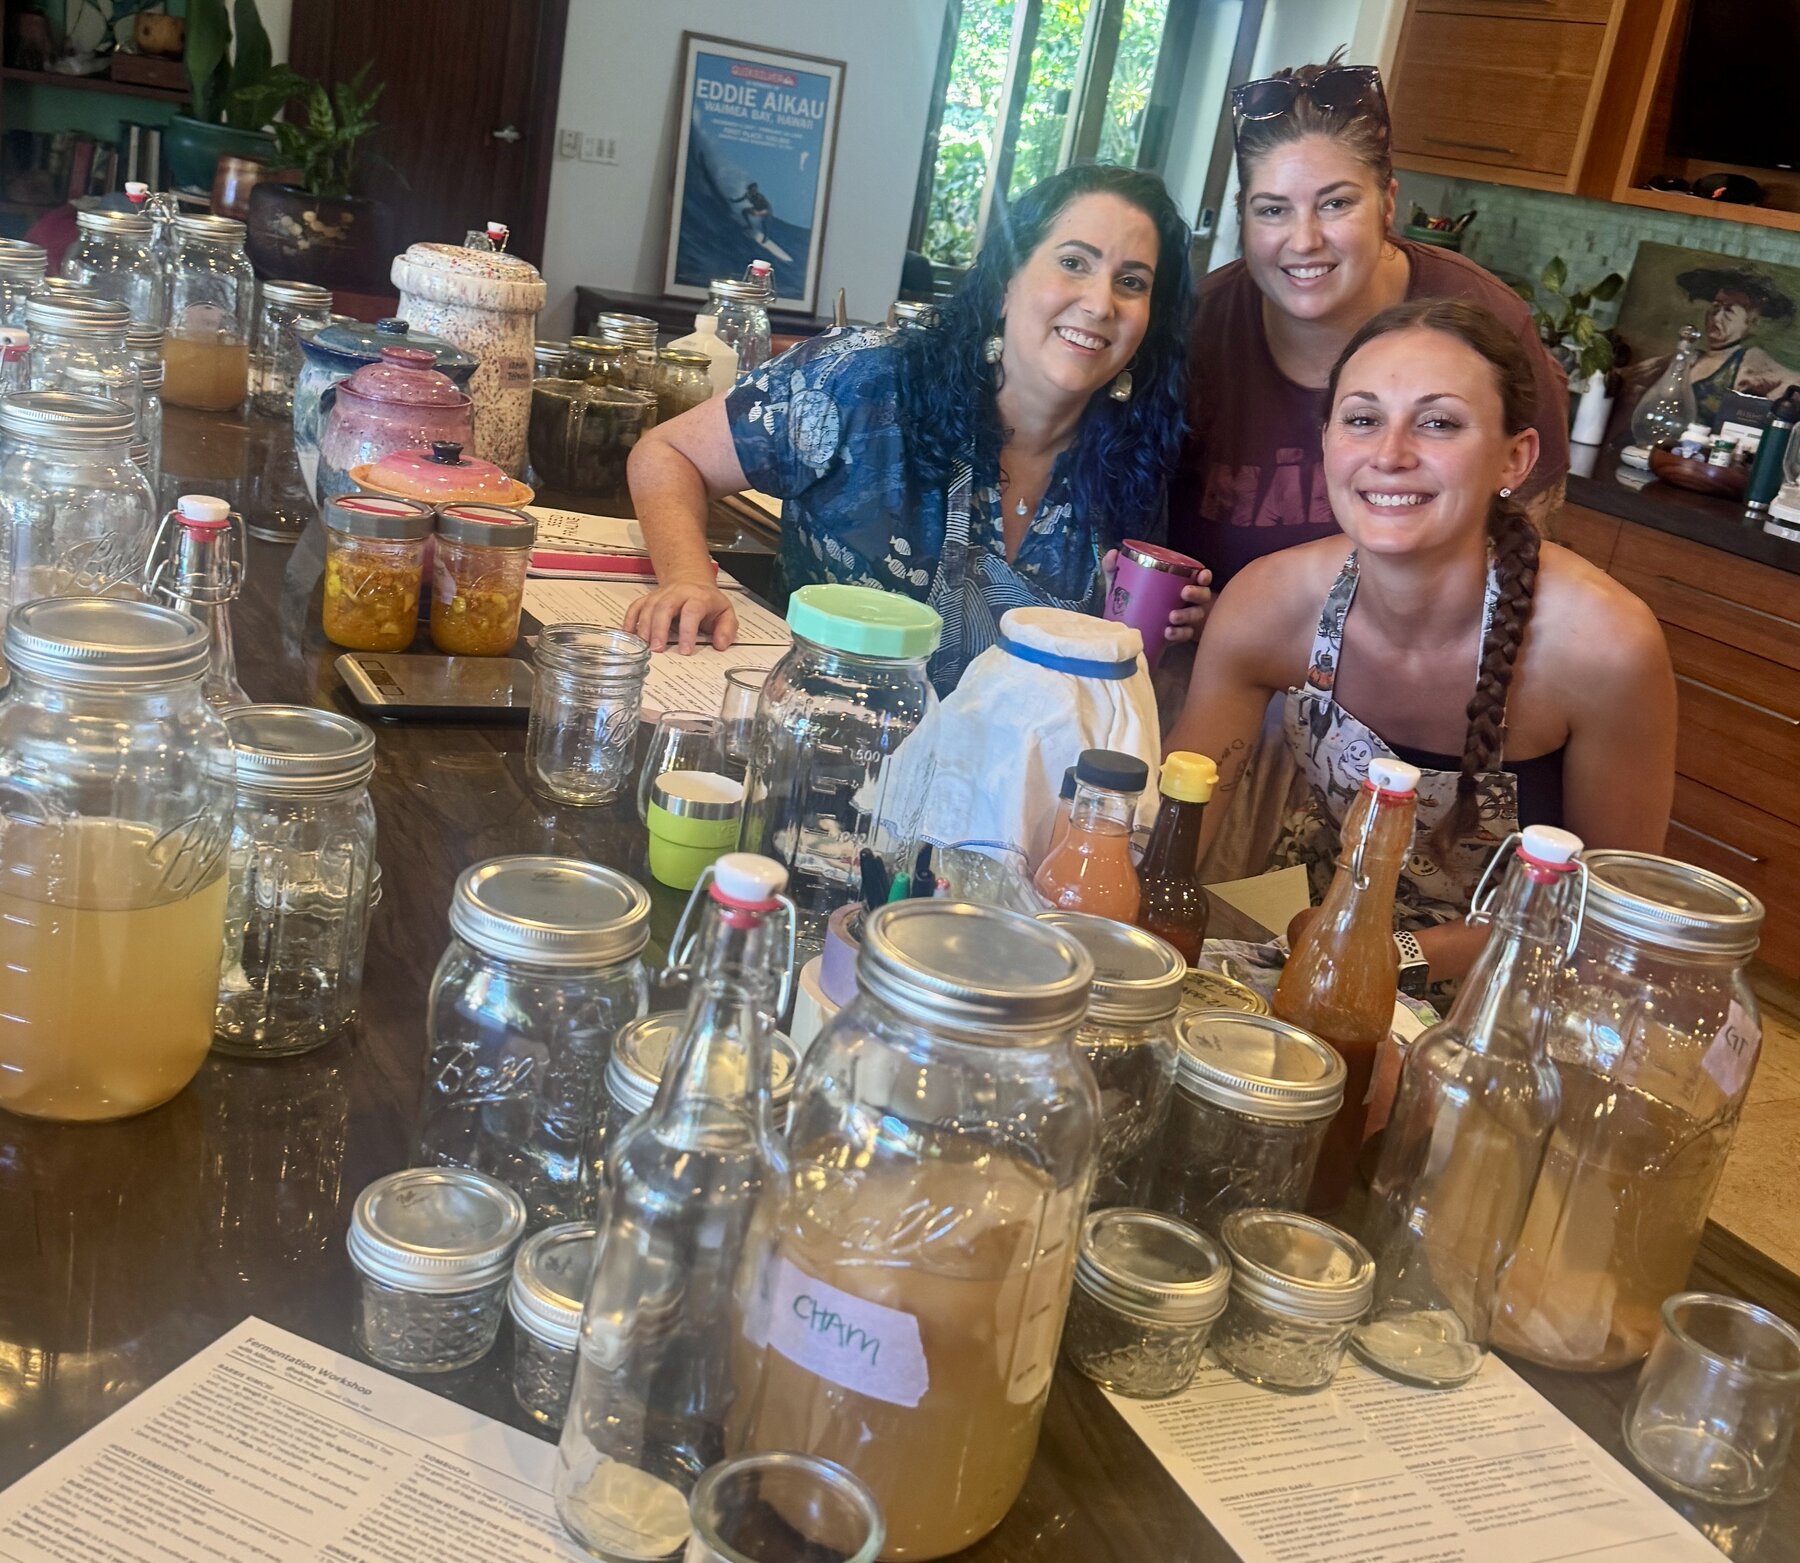
Allison also introduced us to her impressive collection of water-seal crocks, gathered from potteries and small workshops around the world for fermentation, with one made to her own specifications. Each is hand-finished stoneware, and it shows; these are working vessels, but they are also the product of a craft tradition, thrown and glazed by people who clearly care about the form. Allison’s enthusiasm for the artistry behind each piece was as evident as her enthusiasm for what goes inside it. The crocks have lids that sit down inside a moat, and the water in that moat forms a one-way seal: carbon dioxide from the ferment bubbles out, while air, dust, and mold spores stay out. No hand-burping required. The stoneware also blocks light, which degrades ferments, and buffers the temperature swings that can push a ferment along too quickly.
The class culminated with a tasting session of fermented delicacies Allison brought in her crocks and mason jars. Her great wealth of knowledge and enthusiasm for this craft is contagious, and I think we all left feeling greatly inspired.
Allison envisions a world where everyone is practicing food fermentation. She can be reached on Instagram at @adore.ajar to answer questions you might have about fermenting, pickling, or where to purchase specialty equipment.